

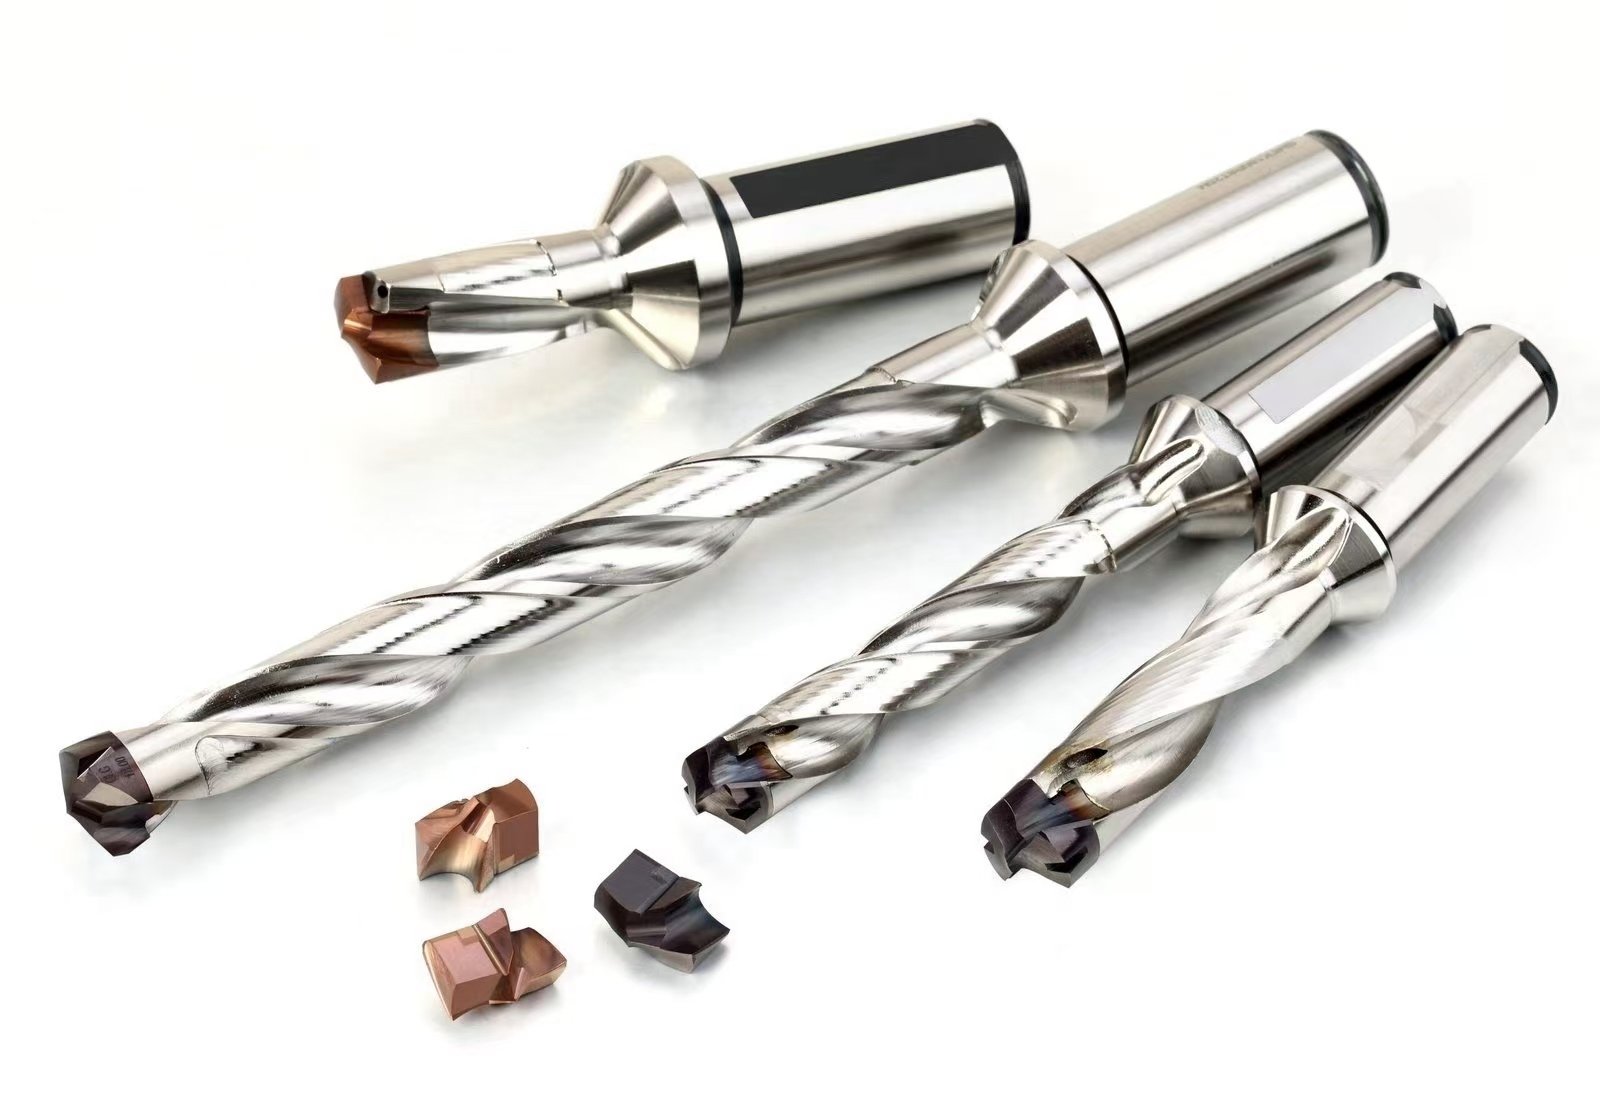
Drilling makes the hole. Tapping cuts or forms the internal thread. On a CNC job, the two operations need one process plan: the hole must have the right diameter, depth and condition before the tap enters it.
Start with the finished thread on the drawing, then work back to the tooling and machining sequence. This guide connects the main decisions, from drilling stainless steel to choosing a tap or thread mill.
1. Read the thread callout before choosing a drill
“M10 hole” is not enough information for a setup sheet. Record the pitch, tolerance class, thread depth and whether the hole is blind or through. Add the material grade, condition and hardness where available.
| Drawing or job detail | Why it matters |
|---|---|
| Thread standard, diameter and pitch | These define the thread and narrow the tap or thread-mill choice. |
| Material and hardness | These affect cutting geometry, grade, lubrication and whether forming is suitable. |
| Blind or through-hole | This changes chip clearance and the available space beyond the finished thread. |
| Full thread depth and hole depth | The tap lead, drill point and clearance must fit below the required thread. |
| Tolerance and inspection method | These establish how the first part and the production batch will be accepted. |
| Quantity and machine capability | These help compare setup effort, cycle time and tool costs. |
Keep the thread callout attached to the job as it moves from programming to tool setting and inspection. A change from a cutting tap to a forming tap also changes the hole preparation; it is not just a tool substitution.
2. Choose the threading process
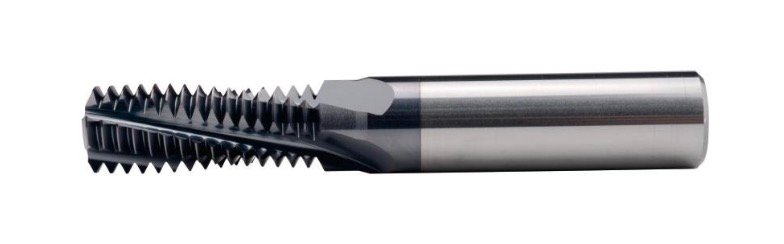
Tapping is a useful route for repeated standard threads when the machine, holder and tap suit the job. Thread milling uses a smaller rotating cutter on a helical path and allows thread size to be adjusted through the toolpath or compensation.
The choice depends on access, material, thread dimensions and the cost of an interrupted job. Compare thread milling vs tapping before buying either tool. If milling is the better candidate, continue with the thread milling setup guide.
For tapping, choose between cutting and forming. A cutting tap removes material and creates chips. A forming tap displaces suitable material without producing cutting chips. The forming tap vs cutting tap guide explains the material and pre-hole differences.
3. Set the pre-hole diameter and usable depth
Use the metric tap drill size chart to identify a reference size for the chosen method and pitch. Then use the selected tap’s hole recommendation and the drawing to set the actual machining and inspection limits.
A drill’s nominal diameter is not a measurement of the finished hole. Runout, cutting-edge condition and the setup can affect the result. Measure the pre-hole when qualifying the process, especially if the threading operation is new or has become unstable.
In a blind hole, separate three dimensions: depth to the drill tip, depth at full hole diameter and usable full thread depth. The first is usually the deepest. The tap lead and required bottom clearance reduce the space available for full thread. The drill point angle guide shows how the point affects this calculation.
4. Build the drilling setup around the workpiece
Choose the drill for the material, hole diameter, depth and entry surface. Use the shortest assembly that provides the required working reach and fixture clearance. Check the holder, tool connection and workholding together.
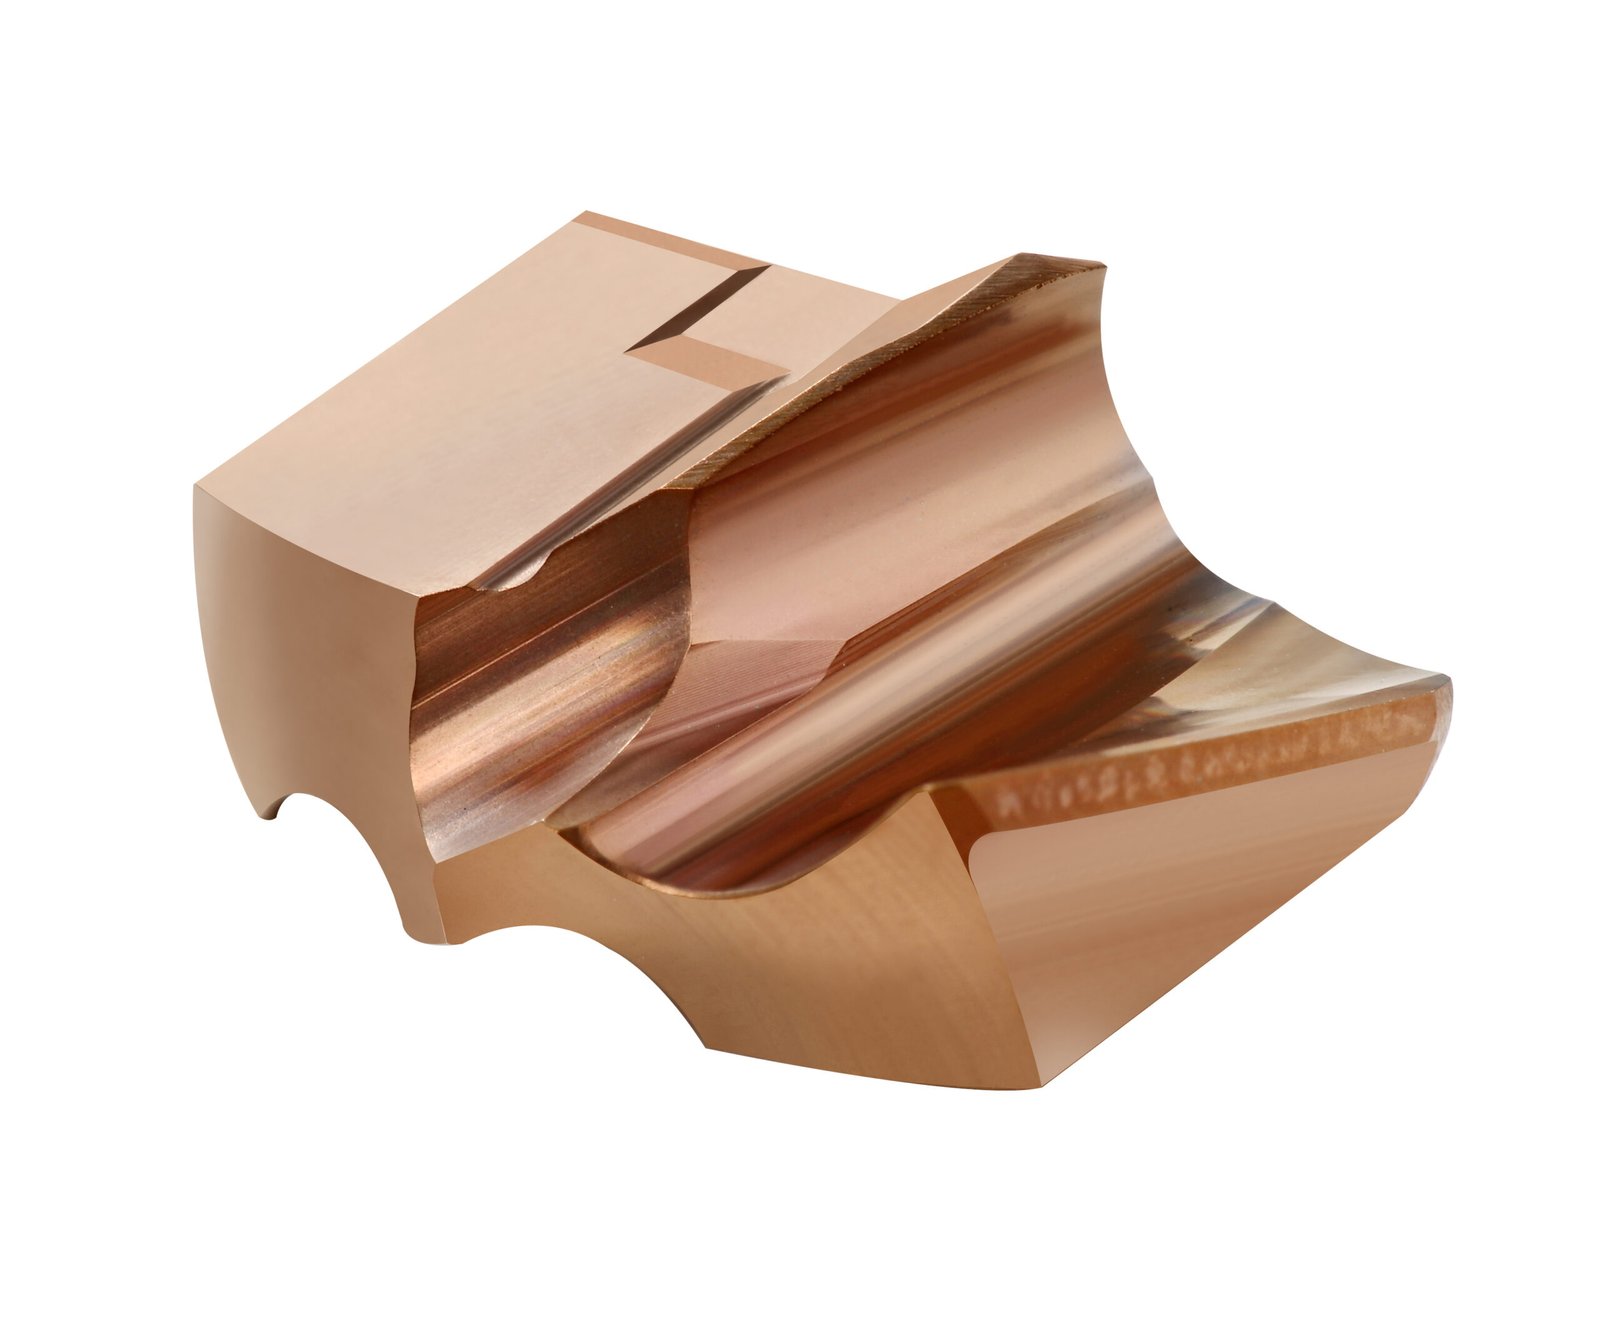
The Winvera drilling tool range includes different tool families. A replaceable-head system adds a compatibility check: the head diameter, seat, body and fastening components must match.
For stainless components, the guide to drilling stainless steel covers speed, feed, coolant and chip checks. It also includes a tube sheet application supplied by Winvera.
For longer holes, use the deep hole drilling guide to plan reach, entry and chip evacuation. A setting that works in a shallow hole may become unstable when the chips have farther to travel.
5. Give the tap a clear chip path
With a cutting tap, decide where the chips will go. A through-hole needs space beyond the exit; a blind hole needs a way to keep chips from packing at the bottom. Compare spiral point and spiral flute taps for these different conditions.
Check the fixture as well as the workpiece. A hole may pass through the part but end close to a backing plate or clamp. That space affects the tap’s exit and chip clearance.
For stainless threads, the tapping stainless steel guide brings together pre-hole quality, tap selection, lubrication and fault diagnosis.
6. Keep tapping feed synchronised with the thread
Drilling feed is chosen for the cutting process. Tapping feed must also follow the thread lead. For a single-start metric thread, the lead equals the pitch.
In a feed-per-minute tapping mode, the relationship is feed rate = RPM × pitch. For example, 400 rpm and a 1.5 mm single-start pitch give 600 mm/min. This is an arithmetic example, not a recommended cutting speed. A feed-per-revolution mode expresses the same relationship differently.
Haas’s tapping reference explains these feed modes. Use the manual for the actual control to check the required cycle, units and synchronisation. Do not copy a drilling feed value into a tapping cycle.
7. Inspect the first piece and keep the evidence
- Before threading: inspect the pre-hole size, usable depth and entry condition required by the process plan.
- After threading: check the thread with the specified gauges and verify the required thread depth.
- Before releasing the batch: record tool models, offsets, program revision, coolant setup and the acceptance result.
If the thread fails inspection, retain the part and note when the problem appeared. A shallow thread, damaged entry and tight gauge result call for different checks. Change one relevant setting at a time so that the cause remains visible.
Request tooling for the complete operation
Send Winvera the drawing, material, thread specification, usable depth and expected quantity. Include the machine connection, coolant arrangement and any access restrictions. If you already have a drilling or tapping setup, add its exact tool models and the problem you want to solve.
Explore the Winvera threading tool range or request a drilling and threading tool review. A complete enquiry lets the drilling and threading stages be checked as one process.
Pingback: Deep Hole Drilling: A CNC Setup and Selection Guide - Winvera Precision tools
Pingback: Forming Tap vs Cutting Tap: A Selection Guide - Winvera Precision tools
Pingback: Thread Milling vs Tapping: Which Process Fits Your Part? - Winvera Precision tools
Pingback: Tapping Stainless Steel: Setup and Troubleshooting - Winvera Precision tools
Pingback: Drilling Stainless Steel: A Practical CNC Guide
Pingback: Spiral Point vs Spiral Flute Tap: Which to Choose? - Winvera Precision tools